 (Image via
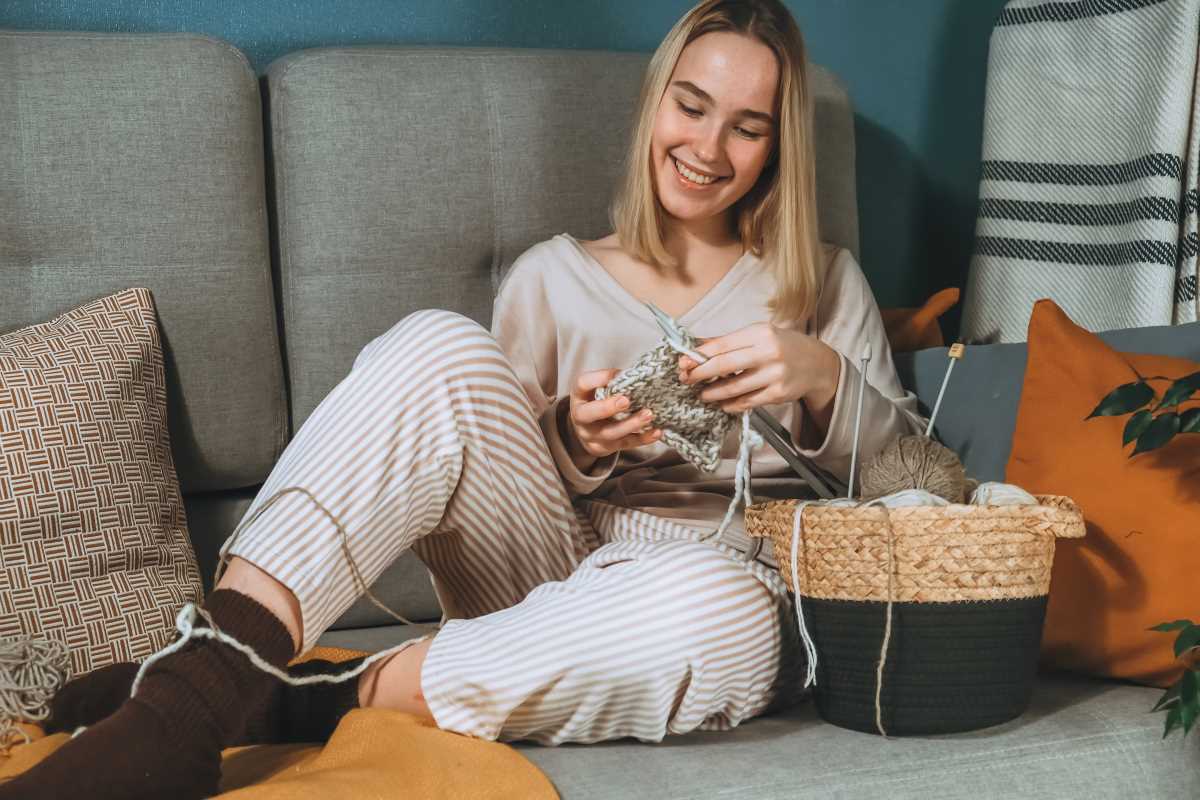
When was the last time you pulled your old clothes out of the wardrobe and said, “Wow, what a masterpiece”? Probably never. But that’s about to change. Welcome to the delightful (and slightly addictive) world of embroidery, where plain tees and tired denim jackets become canvases for your wild, wonderful ideas. Even if you’ve never threaded a needle, you’ll find that creating quirky embroidery art is a satisfying way to refresh your wardrobe while reducing waste. It’s creative, sustainable, and just the right amount of chaotic fun.
Here’s everything you need to know about turning your old clothes into unique, wearable works of art.
Why Embroidery is the Ultimate Upcycling Hack
We’ve all been there—with a pile of clothes that are too plain, too boring, or just “meh.” Tossing them out feels like a waste, but wearing them again? Hard pass. That’s where embroidery shines. With just a needle, some floss, and a sprinkle of creativity, you can transform those garments into funky, personalized pieces that scream you.
Beyond the aesthetic appeal, embroidery is also a sustainable choice. Fast fashion generates insane amounts of waste, so extending the life of your clothes by upcycling is a small, stylish step toward being kinder to the planet. Plus, it’s way cheaper than buying a new wardrobe.
But the best reason to try embroidery? It’s just plain fun. Think of it as painting with thread, except you don’t need artistic talent to nail it.
Getting Started with Embroidery
Before you start stitching tiny cats or rebellious quotes onto an old shirt, you’ll need to gather some tools and pick a design. Don’t panic; embroidery’s low-maintenance demands are part of its charm.
The Basics
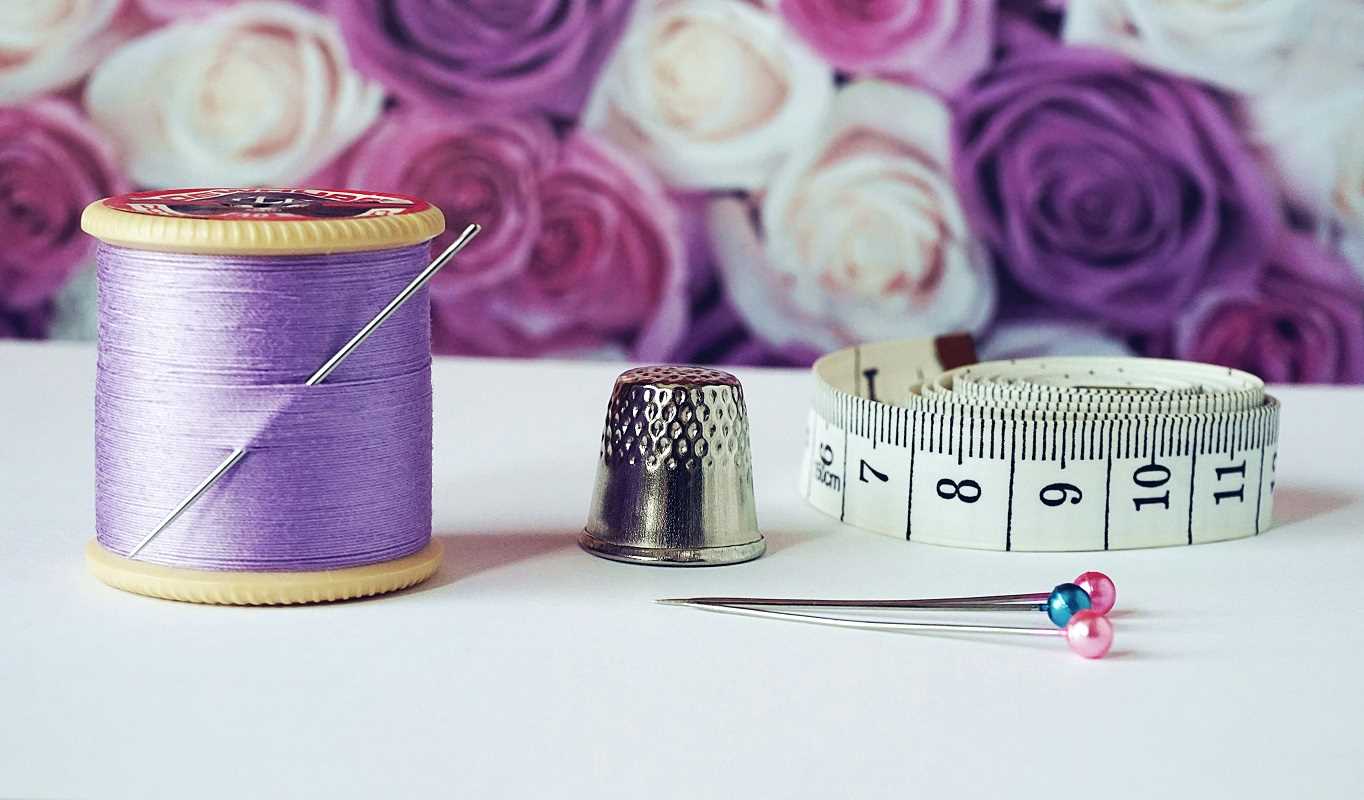
Here’s what you’ll need to kick off your embroidery escapade:
- Needles: Look for embroidery needles, which have larger eyes to accommodate floss.
- Embroidery Floss: This is fancy talk for colorful thread. It’s cheap, comes in endless shades, and is usually found in craft stores.
- An Embroidery Hoop: Keeps your fabric nice and taut while you work. For beginners, a 4-6 inch hoop is perfectly manageable.
- Fabric Marking Pen or Chalk: For sketching your design onto the fabric.
- Scissors: A small, sharp pair works best for cutting thread without the chaos.
- Stabilizer (Optional): If your fabric is thin or stretchy (like a t-shirt), an iron-on stabilizer will help prevent puckering.
The good news? You probably already own most of these items, and the rest won’t cost more than your coffee habit for the week.
Choosing Your Design
This is where things get fun. Your design can be as simple or outrageous as you want. Here are a few quirky ideas to inspire your inner artist:
- Cheeky Quotes: Try stitching “Not Today” or “Plant Lady” onto a sweater. Bonus points for sarcastic undertones.
- Miniature Animals: Think tiny bees buzzing around the collar of a denim jacket or a sleepy fox nestled on a pocket.
- Abstract Patterns: Geometric shapes, squiggles, or colorful blobs can turn a plain skirt into a statement piece.
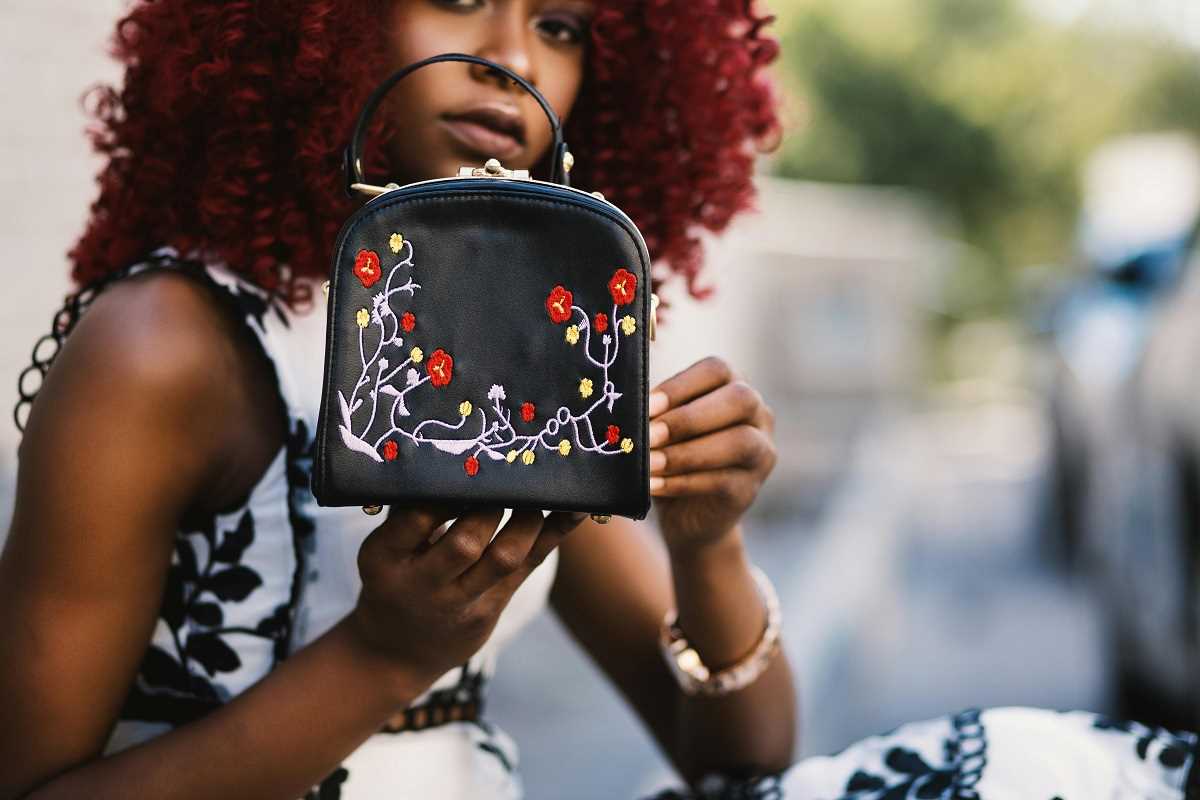
- Nature-Inspired Details: Flowers, leaves, or even tiny mushrooms add a whimsical touch to boring old tops.
- Food Icons: What’s cooler than a slice of pizza embroidered on the sleeve of your hoodie? Nothing.
Pro tip for beginners: Start small. A few daisies on a pocket or a single phrase on a sleeve is a good way to practice without committing to a full-blown masterpiece.
Step-by-Step Guide to Embroidering Clothes
Grab that shirt you abandoned in the back of your closet and follow these steps to bring it back to life.
1. Prep Your Fabric
Wash and dry your garment to remove any dirt or shrinkage surprises. If it’s thin or stretchy, iron on a piece of stabilizer to the area you plan to embroider. This keeps the fabric from warping as you stitch.
2. Sketch Your Design
Use a fabric marking pen or chalk to lightly sketch your design onto the clothing. Don’t worry about perfect lines; you can tweak things as you go. Not feeling confident in your drawing skills? Look up patterns online and trace them onto the fabric instead.
3. Set Up Your Hoop
Place the part of the fabric with your design into the embroidery hoop. The goal here is tension. Your fabric should be drum-tight, not sagging like old tights.
4. Thread Your Needle
Choose your floss color and cut a manageable length (about 18 inches). Split the floss into strands; beginner-friendly embroidery typically uses 2-3 strands at a time. Thread your needle and knot one end. Now you’re ready to stitch.
5. Grab the Stitch Basics
There are about a million embroidery stitches, but you only need a handful to get started:
- Backstitch: Perfect for outlining shapes or writing text.
- French Knot: Great for dots, eyes, or tiny details.
- Satin Stitch: Use this for filling in shapes with bold, solid color.
- Chain Stitch: Adds texture and flair to outlines. It’s like a party for your thread.
Check online tutorials or YouTube for quick guides on how to master each stitch.
6. Stitch Your Design
Start stitching along your sketched lines. Take your time and work slowly, especially if you’re new to this. Don’t stress about every stitch being flawless; imperfections give your design character.
7. Finish and Admire
Once you’ve finished stitching your design, tie off the thread on the underside of the fabric. Trim any excess floss, remove the hoop, and step back to admire your handiwork. Bask in the glow of your upcycling genius.
Tips for Embroidery Success
- Go Bold with Colors
- Bright, contrasting colors pop on dark fabrics like denim or black cotton. For pastel or white clothing, experiment with neon or metallic floss.
- Layer Your Designs
- Don’t be afraid to mix stitches or add layers. A heart filled with colorful stitches and outlined in black thread? Chef’s kiss.
- Keep It Quirky
- Embroidery is your chance to show off your personality. Stitch something weird, witty, or wonderfully offbeat.
Quirky Projects to Try Right Now
Not sure where to start? Here are three beginner-friendly ideas to get your creativity flowing:
- Statement Sleeves: Add a line of tiny stars, doodled arrows, or abstract squiggles to the cuffs of a plain long-sleeve shirt.
- Patchwork Pocket: Cover a pocket with embroidered flowers, fruits, or tiny monsters. Who doesn’t want a pocket full of smiles?
- Collar Cuties: Stitch little icons like cherries, paw prints, or lightning bolts onto the collar tips of a blouse.
Care Tips for Embroidered Clothing
Now that you’ve poured your creative energy into your clothes, you’ll want to keep them looking sharp. Wash embroidered garments on a gentle cycle (flipping them inside out helps), and avoid over-drying them in the machine. Treat stains carefully, and if your threads start fraying, gently trim them with scissors.